Add it to Claude Code
claude mcp add mac-use-mcp -- npx mac-use-mcpMake your agent remember this setup
mac-use-mcp's config, env vars, and the gotchas you hit — recalled in every future Claude Code, Cursor, and Codex session.
npx conare@latestFree · one command · indexes the sessions already on disk. Set up in the browser instead →
What it does
- Zero-native-dependency macOS desktop automation
- Full control over mouse, keyboard, and screen
- Accessibility inspection via UI element tree querying
- Support for macOS 13+ on Intel and Apple Silicon
- 18 integrated tools for window management and input
Tools 6
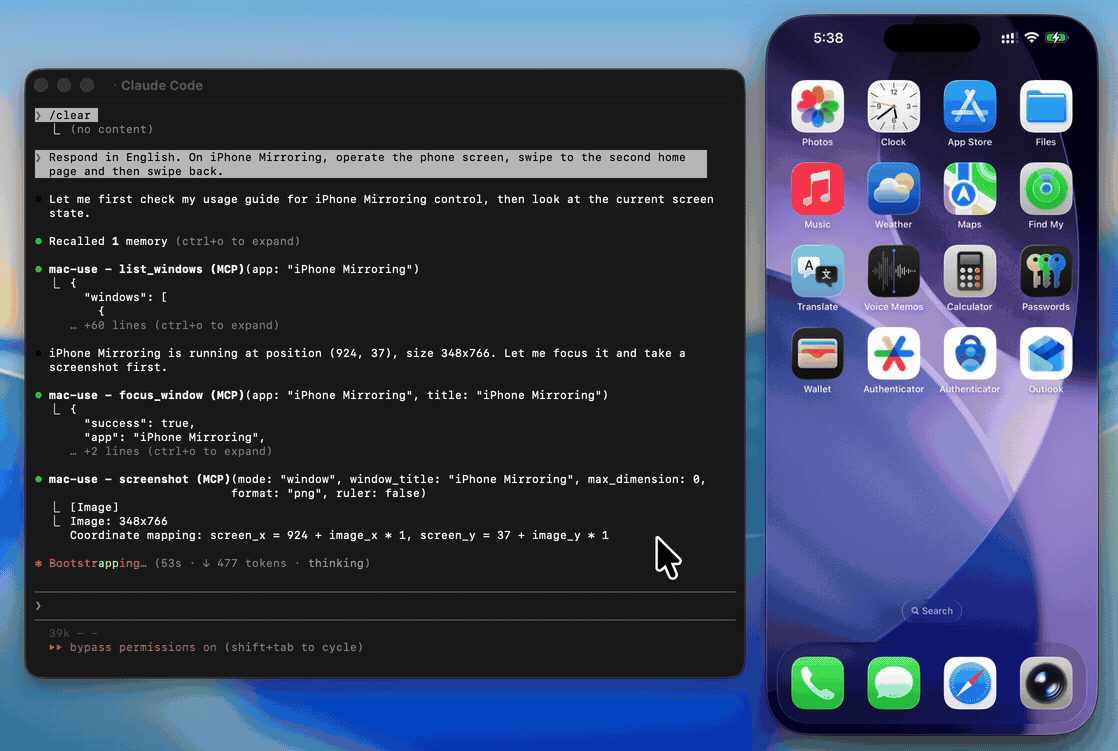
screenshotCapture the screen for visual inspection.clickPerform a mouse click at specified coordinates.type_textType text into the active window.get_ui_elementsQuery the UI element tree for accessibility inspection.open_applicationLaunch a specific application.check_permissionsVerify accessibility and screen recording permissions.Try it
Original README from antbotlab/mac-use-mcp
mac-use-mcp
[!WARNING] This tool has full control over mouse, keyboard, and screen. Please use in a sandboxed environment to protect your privacy and avoid accidental data loss by your agents. You are responsible for any actions performed through this tool.
Zero-native-dependency macOS desktop automation via MCP.
Give AI agents eyes and hands on macOS — click, type, screenshot, and inspect any application.
Use Cases
- Automated UI testing — click buttons, verify element states with
get_ui_elements, validate screen content viascreenshot - Desktop workflow automation — launch apps with
open_application, fill forms withtype_text, navigate menus viaclick_menu - Screenshot-based monitoring — capture screen regions periodically with
screenshotfor visual diffing or alerting - Accessibility inspection — query UI element trees with
get_ui_elementsfor QA and compliance checks - AI agent computer use — give LLMs eyes and hands on macOS via
screenshot,click,type_text, and more
Why mac-use-mcp?
- Just works —
npx mac-use-mcpand grant two macOS permissions. No node-gyp, no Xcode tools, no build step. - 18 tools, one server — screenshots, clicks, keystrokes, window management, accessibility inspection, and clipboard.
- macOS 13+ on Intel and Apple Silicon — no native addons, no architecture headaches.
Install
Requirements: macOS 13+ and Node.js 22+. The server communicates over stdio transport.
This package only works on macOS. It will refuse to install on other operating systems.
No build steps. No native dependencies. Just run:
npx mac-use-mcp
npxwill prompt to install the package on first run. Usenpx -y mac-use-mcpto skip the confirmation.
[!TIP] Model selection matters. Desktop automation involves screenshot–action loops that add up in token usage. A fast model with solid reasoning, good vision, and reliable tool calling is recommended:
Model Provider Gemini 3 Flash Claude Sonnet 4.6 Anthropic GPT-5 mini OpenAI MiniMax-M2.5 MiniMax Kimi K2.5 Moonshot AI Qwen3.5 Alibaba GLM-4.7 Zhipu AI
Permission Setup
mac-use-mcp requires two macOS permissions to function. Grant them once and you're set.
Accessibility
Required for mouse and keyboard control.
- Open System Settings > Privacy & Security > Accessibility
- Click the + button
- Add your MCP client application (e.g., Claude Desktop, your terminal emulator)
- Ensure the toggle is enabled
Screen Recording
Required for screenshots.
- Open System Settings > Privacy & Security > Screen Recording
- Click the + button
- Add your MCP client application
- Ensure the toggle is enabled
- Restart the application if prompted
Verify permissions
After granting both permissions and configuring your MCP client (see next section), use the check_permissions tool to confirm everything is working:
> check_permissions
✓ Accessibility: granted
✓ Screen Recording: granted
MCP Client Configuration
<details open> <summary><strong>Claude Code</strong></summary>claude mcp add mac-use-mcp -- npx mac-use-mcp
Add to ~/Library/Application Support/Claude/claude_desktop_config.json:
{
  "mcpServers": {
    "mac-use-mcp": {
      "command": "npx",
      "args": ["mac-use-mcp"]
    }
  }
}
Add to ~/.codex/config.toml:
[mcp_servers.mac-use]
command = "npx"
args = ["-y", "mac-use-mcp"]
Or via CLI:
codex mcp add mac-use -- npx -y mac-use-mcp
Add to ~/.gemini/antigravity/mcp_config.json:
{
  "mcpServers": {
    "mac-use-mcp": {
      "command": "npx",
      "args": ["mac-use-mcp"]
    }
  }
}